
Deploying updated code to an Azure Function App can be done through a variety of methods, and one of those methods is by uploading a zip file to the Function App via the Kudu REST API.
To start, go to your Function App in the Azure Portal and download the publish profile. This contains the ZipDeploy URL and the username and password that will be needed. You can do this from the Overview page of the Function App:
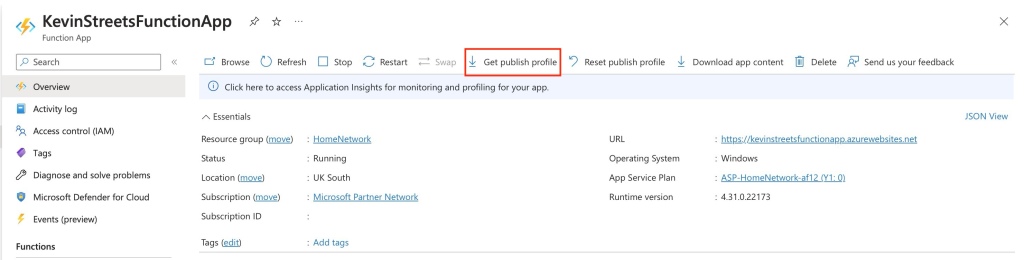
This will download an xml file that contains a few different publish profiles that you can use. In this case, look for the ZipDeploy profile and take note of the publishURL, userName and userPWD. The URL will take the form of FunctionAppName.scm.azurewebsites.net, the username will be $FunctionAppName and the password will be a long, randomised string.

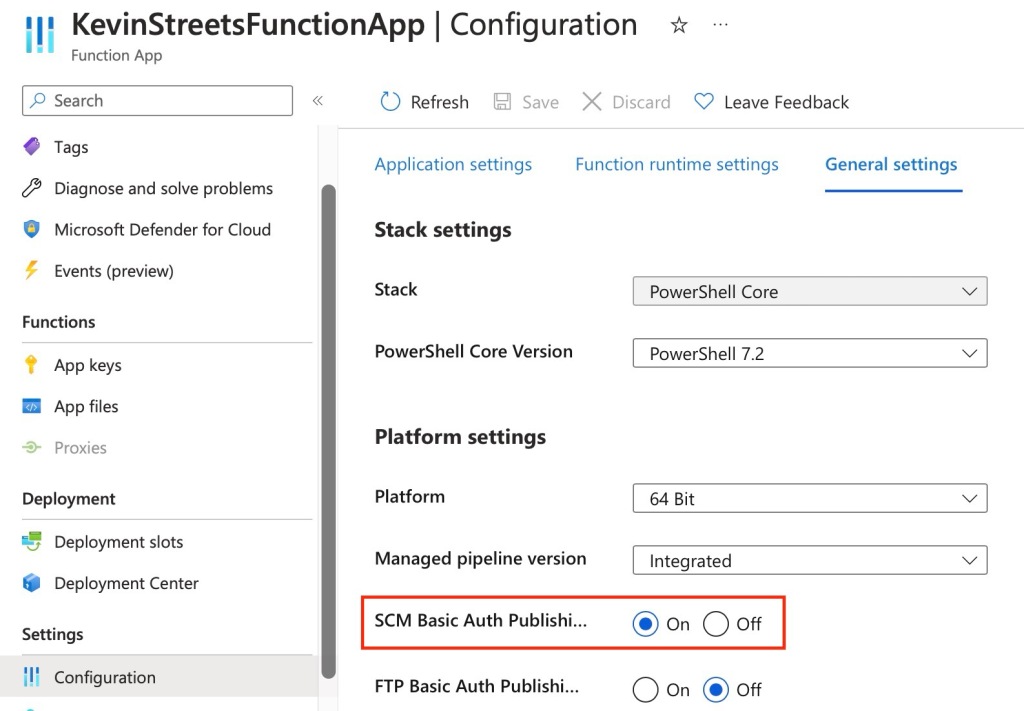
Next you will need to make sure that SCM Basic Auth Publishing Credentials are enabled in the General Settings for your Function App. This can be found under Settings > Configuration > General Settings:
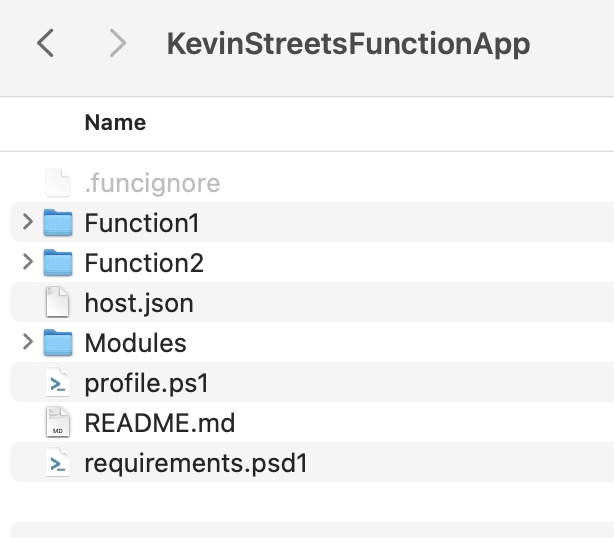
With this done let’s start coding the deployment, starting with the creation of the zip file. The root directory that you zip should contain the files that you want in the wwwroot folder of your Function App. Typically this will include your functions, a Modules folder, and a host.json file (and perhaps other files depending on the scripting language you selected for your Function App).
Let’s also say you have a .funcignore file that has a list of files or folders that are in the folder structure of the Function App but should not be included in the deployment.
So, your Function App source folder might look something like this:
Here’s the code to create the zip file:
$FolderPath = "C:\FunctionApps\KevinStreetsFunctionApp"
$Exclude = Import-Csv -Path "$FolderPath\.funcignore" -Header "Exclude"
$Destination = "$FolderPath\KevinStreetsFunctionApp.zip"
$Files = Get-ChildItem -Path $FolderPath -Exclude $Exclude.Exclude
# Create the zip file
Compress-Archive -Path $Files -DestinationPath $Destination -CompressionLevel Fastest
Now that the zip file has been created it is time to deploy it. Start by defining some variables with the publishURL, userName and userPWD you noted down earlier. Also, update the publishURL to include the correct API and include “isAsync=true” which will immediately return a response that you can use to monitor the deployment status.
$DeploymentUrl = 'https://kevinstreetsfunctionapp.scm.azurewebsites.net'
$Username = '$KevinStreetsFunctionApp'
$Password = 'Hnsl114TmGlpmEis9afDe5KEZoqvJDpcNZyri8ucAJx2b2uSoKhd4ovlCg9Q'
$ApiUrl = "$($DeploymentUrl):443/api/zipdeploy?isAsync=true"
Create the base-64 encoded string to pass in the Authorization header when we make the request:
$Base64AuthInfo = [Convert]::ToBase64String([Text.Encoding]::ASCII.GetBytes(("{0}:{1}" -f $Username, $Password)))Next create a variable to define the zip file location:
$ZipFileLocation = "C:\FunctionApps\KevinStreetsFunctionApp\KevinStreetsFunctionApp.zip"And finally deploy!
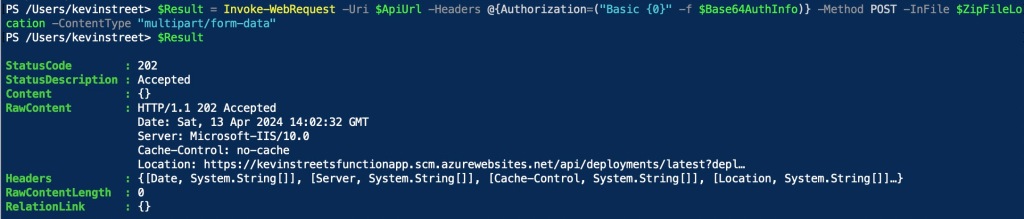
$Result = Invoke-WebRequest -Uri $ApiUrl -Headers @{Authorization=("Basic {0}" -f $Base64AuthInfo)} -Method POST -InFile $ZipFileLocation -ContentType "multipart/form-data"As mentioned above, this should return immediately, and you can this by checking the content of the $Result variable. If all has gone well, you will get a StatusCode 202 meaning it has been accepted.
As previously mentioned, you can now monitor the status of the deployment. The URL you use to monitor the deployment is contained in the Headers in the return of the previous request. You can view it by looking in $Result.Headers.Location:

To query the status of the deployment, run the following command:
$Complete = Invoke-WebRequest -Uri $($Result.Headers.Location) -Headers @{Authorization=("Basic {0}" -f $base64AuthInfo)} -Method GET
($Complete.Content | ConvertFrom-Json).provisioningState
This will likely return one of two statuses: InProgress or Succeeded. In my experience it takes very little time to complete the deployment. I like to create a small loop that checks the status every 5 seconds until the status is completed:
do {
    $Complete = Invoke-WebRequest -Uri $($Result.Headers.Location) -Headers @{Authorization=("Basic {0}" -f $Base64AuthInfo)} -Method GET
    Write-Host -Object "Current deployment progress: $(($Complete.Content | ConvertFrom-Json).provisioningState)"
    if ($(($Complete.Content | ConvertFrom-Json).provisioningState) -ne "Succeeded") {
        Start-Sleep -Seconds 5
    }
}
until ($(($Complete.Content | ConvertFrom-Json).provisioningState) -eq "Succeeded")
This gives me a nice output that shows when my deployment has completed:

That is the foundation needed to deploy a Function App with PowerShell. If you have multiple Function Apps you could wrap this code around a loop to deploy each in turn or include other configuration changes as part of a deployment pipeline.